How to Fill and Cap 510-Thread Vape Cartridges for Reliable Production

Filling and capping your 510-thread vape cartridges the right way, with consistency and precision, will help brands avoid the hassle of leaks, poor performance, dry hits, and lost inventory to returns. By carefully following the manufacturer's instructions, conducting test runs, and maintaining tight control over production, you will help ensure that each cart you produce works impeccably, best represents your brand and oil, and keeps your customers happy!
When it comes to filling and capping our hardware, iKrusher proudly serves businesses at every stage of growth—from a startup manually filling their carts to a more established brand using automatic filling and capping solutions.
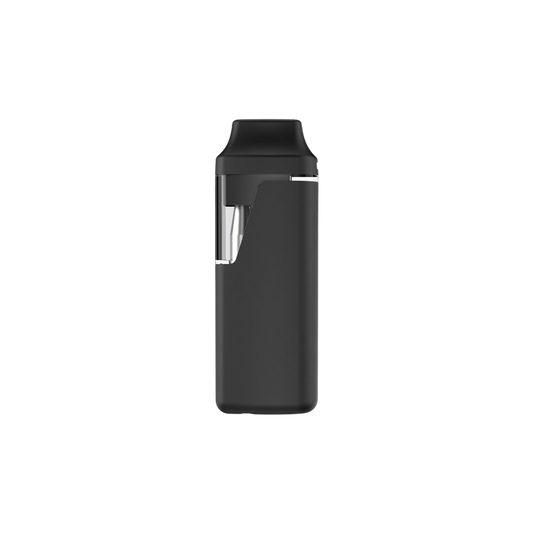
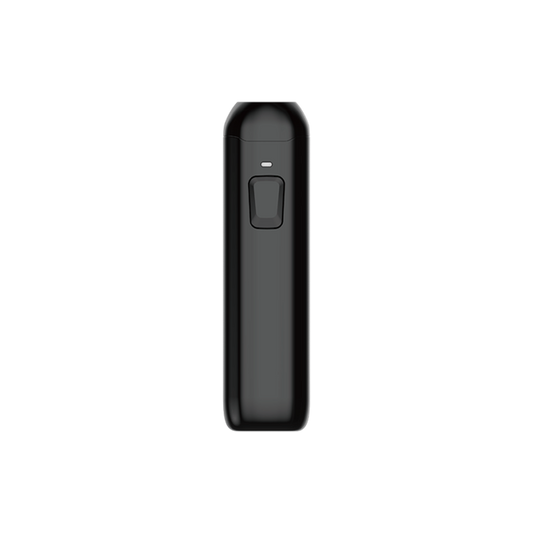
This guide explains how to fill a 510 cartridge for oil producers, extraction companies, retailers, and brands, as well as for anyone looking to fill and cap an iKrusher 510-thread cartridge properly. So, whether you're using the Dano Pro, Tux, Calibr, Karno, or Avaz Pro (our best 510 cartridge for thick oil), you can properly fill them for dependable performance and successful sales.
Steps to Filling and Capping 510 Thread Vape Cartridges
1. Unpack and Inspect Cartridges
2. Preheat and Condition the Oil
3. Fill the Cartridges
4. Cap and Seal the Hardware
5. Cooling and Coil Saturation
6. Package for Storage, Shipping, or Sale
Step 1 - Unpack and Inspect Cartridges
Open your box of cartridges by unlatching the locking tab and carefully lifting the top. Remove the Styrofoam cover and inspect your carts. Lift the foam insert out of the box, keeping the cartridges upright and avoiding tilting, and place the whole on a flat surface. Avoid touching the intake holes and be sure not to damage the cardboard box so that you can reuse it for storage and shipping.
Step 2 - Preheat and Condition the Oil
To fill a vape cart accurately, the oil needs to be low-viscosity and flow easily. This makes filling the cartridges fast and easy. If the oil is more viscous and thicker, it can be much more difficult to accurately fill properly. To keep the oil flowing and less viscous, preheat it. Heat the oil to the appropriate temperature for your oil (i.e., ≤ 135°F (or 57°C). Check with your oil's ideal temperature. If you don't have it, you'll need to run tests to find the ideal temperature for your oil. Start at a low heat and slowly raise the temperature until the oil runs smoothly and can be easily sucked into an oil syringe and squirted out. Then note the oil's temperature for future batches.
Once the oil is heated and ready, it's time to inject the oil into the carts.
Step 3 - Fill the Cartridges
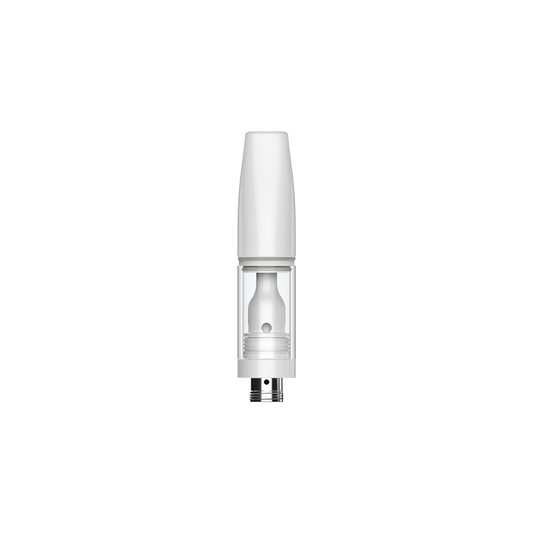
Find the filling hole on the cartridges. With most 510-thread vape carts, the filling area is a large, circular or semicircular space at the top of the cart. There are a few methods for filling carts depending on your workflow.
Manual filling - If you're only filling a few cartridges, manual filling may be the ideal solution for now. With the oil heated and prepped, insert the oil syringe into the heated oil and suck the oil up into the syringe; the recommended needle size is 15 gauge (or ≤2.0mm). Then proceed to fill the carts. (It's best to go in a continuous sequence to know which carts were filled first.) Insert the oil syringe into the filling area, stopping when it's about three-quarters of the way into the tank. Then press the syringe plunger and fill the cart's tank. Be sure not to cover the center post (if present) to ensure air can fully escape during the filling process.
Automatic and Semi-automatic filling - Once your production workflow has scaled up to the point where automated filling is needed to reduce mistakes and increase production speed, carefully follow the instructions provided by your automated filling solution manufacturer. Most automatic filling machines have a heated tank to pour prepped oil into. Then you align the cartridges, keeping them in their foam insert tray. Align them in your automatic filling machine and follow the instructions for your specific solution.
Step 4 - Cap and Seal the Hardware
After all the cartridges are filled, it's time to cap them. Place the foam insert tray with the caps onto the filled cart bodies, then align and secure them correctly, keeping them vertically aligned. (For the best results, we recommend capping vape carts right after filling them.) Some carts can be manually snapped closed by hand. Most require a capping machine, a hand press, a capping press, or an arbor press. Regardless of which capping machine you use, make sure to use the foam insert tray or custom jig to apply even pressure to the cartridges. To avoid damaging your carts, don't exceed their maximum capping force. Check the carts' Filling Instructions for more details.
Step 5 - Cooling and Coil Saturation
Some oils require a cooling period after capping. For these oils, after the cartridges have been properly filled and capped, invert the carts. This allows for the oil to settle away from the coils. After the oil has cooled, turn the carts right side up and then let them sit for at least 30 minutes. This step ensures that the oil fully saturates the coil and helps prevent any dry hits.
Step 6 - Package for Storage, Shipping, or Sale
Once all your cartridges have been filled, securely capped, and inverted, it's time to package them for shipping, storage, or sale. You can place your filled and capped cartridges back into the production box or package them individually for sale.
Troubleshooting / FAQs
Why is my 510-cartridge leaking?
Leakage typically happens when oil is too thin, overfilled, or fills past the center post, preventing proper pressure equalization. It can also occur if the seal isn’t tight, the coil isn’t properly saturated, or the hardware has a damaged or misaligned O ring. Also, using oil that's too hot during filling can cause leaks as it cools and contracts inside the tank.
Why could a cart fail after capping?
A cartridge may fail after capping if it was capped at an angle, capped with too much pressure, or capped after the oil had cooled too much (potentially causing internal pressure issues). Improper capping can damage internal seals or deform the mouthpiece, leading to airflow blocks, oil leaks, or poor coil performance.
Why might the coil burn?
A coil can burn if it isn't fully saturated with oil before use, which happens if the cart wasn't given enough time to sit after filling and capping. Coils can also burn if the oil is too thick for the vape's heating system, if the user runs the battery at too high a voltage, or if air bubbles prevent the oil from properly saturating the coil.
What happens if the oil is too hot or too cold during filling?
If the oil is too hot:
It can become too thin, leading to leaks, inaccurate fill volumes, or damage to the wick or seals. As it cools, it may also create pressure changes that force oil into the airway.
If the oil is too cold:
It becomes thick and difficult to fill, resulting in under-filled cartridges, air pockets, or improper coil saturation. Cold oil can also increase the risk of damaging syringes or filling equipment.
How can I recognize faulty hardware before filling?
Before filling, inspect cartridges for:
• Cracked glass or tanks
• Misaligned or damaged center posts
• Loose or missing O rings
• Irregular airflow when drawing through the mouthpiece (it should be smooth, not blocked or whistling)
• Mouthpieces that don't seat properly
• Tanks that wobble or separate from the base
NOTE: Faulty hardware should be removed and discarded to prevent waste and performance issues.
Closing Thoughts
Filling and capping cannabis vape cartridges calls for a careful balance of planning, precision, and consistency to protect product quality and maintain efficiency. By focusing on basics, brands can reduce waste, shorten production time, and deliver cartridges that perform reliably from batch to batch. iKrusher proudly supports businesses of all sizes. If you need additional guidance, consult the Filling Instructions for your cartridge, reach out to your iKrusher representative, or visit our website for more information.